Whole-Home Automation Wiring (Renovation Stage)
Hub locations and Cat6/Wi-Fi planning, neutral-wire requirement for smart switches, scene controllers, HVAC and lighting integration.
By Michael Chen, Licensed Master Electrician ·
Renovation-stage homeowner planning the wiring upgrade, wants to make decisions before drywall.
Whole-Home Automation Wiring (Renovation Stage)
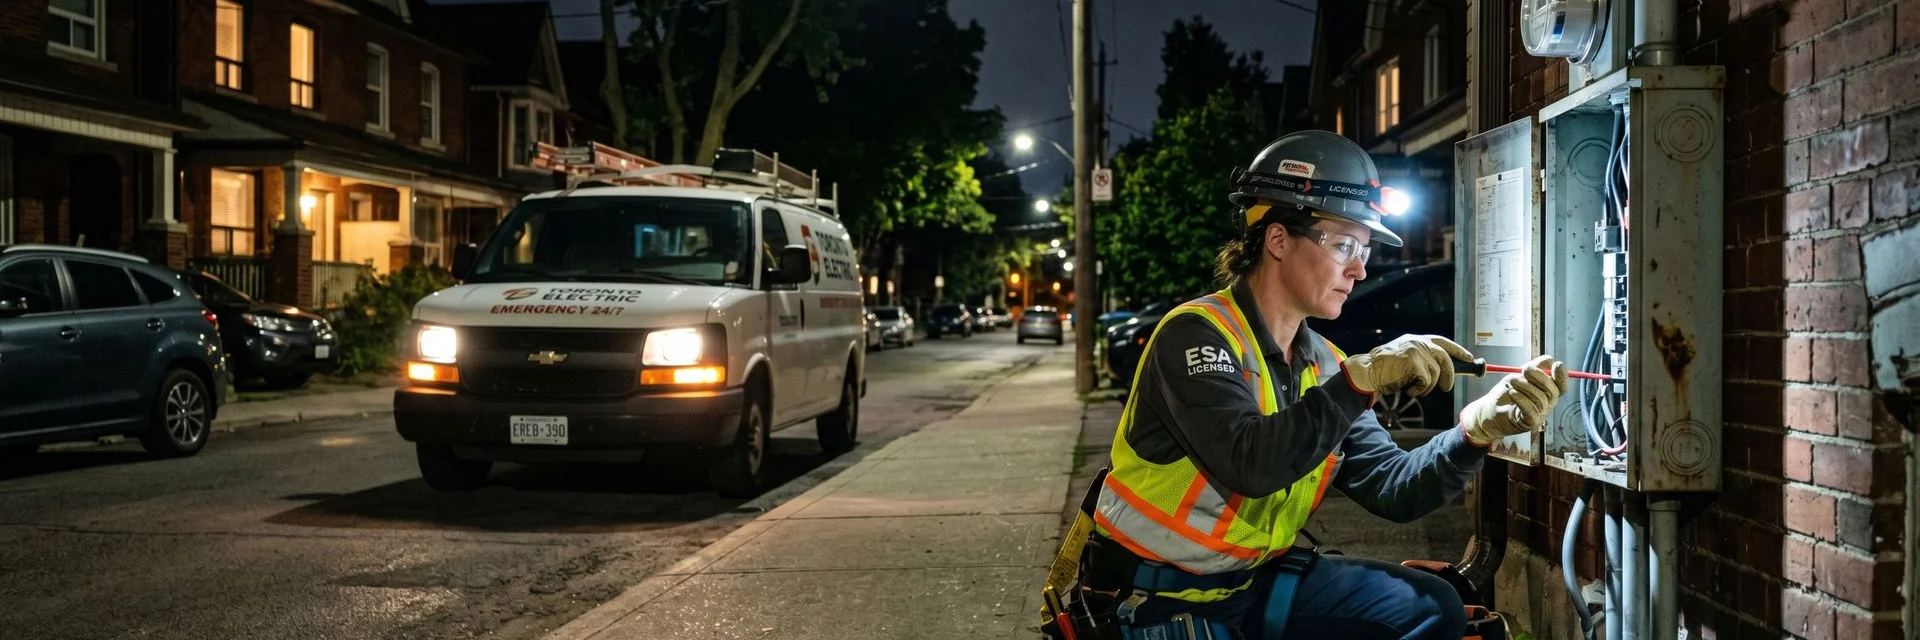
As a Toronto Electrical Contractor delivering safe and code-compliant installations, we constantly see homeowners rushing their tech decisions right before the drywall goes up. You probably know the feeling of standing in a framed-out room and wondering if you have enough outlets.
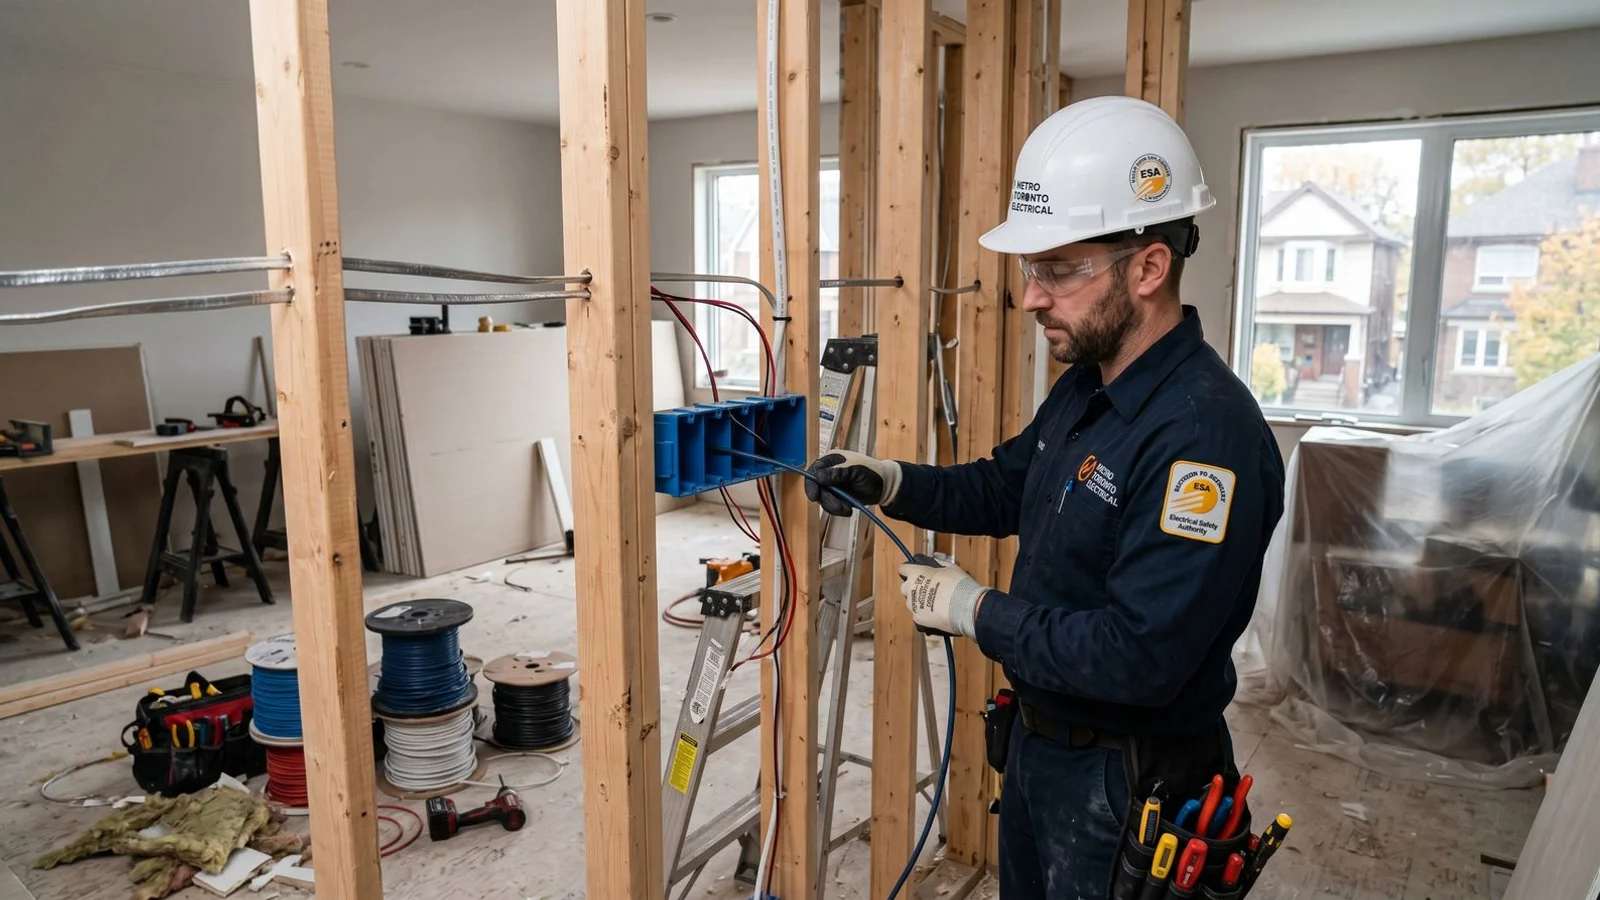
We find that the pre-drywall phase is the single most cost-effective time to execute the smart home wiring renovation Toronto homeowners need. A simple cable run costs a fraction of what it will cost next month.
Our team is going to break down exactly what you need to install now, explain the reasoning behind the data, and walk through the specific hardware requirements for local properties.
What This Guide Covers
Quick overview of the points worth knowing before you book any work:
1. Hub locations and Cat6 / Wi-Fi access point planning
Centralizing your network hub and selecting the right ethernet cables will dictate your entire internet experience. We strongly recommend running Cat6a cables to ceiling locations for high-end Wi-Fi 7 access points. This specific standard supports 10 Gbps speeds up to a full 100 meters.
We see many homeowners default to standard Cat6 for everything to save money. That strategy works well for short room drops or standard televisions. Our technicians prefer Cat6a for access points because the thicker cable handles Power over Ethernet (PoE) heat much better.
Security cameras and modern access points, like the Ubiquiti UniFi U7 Pro, pull power directly through the data cable. We always want you to have that extra thermal protection inside your walls.
| Feature | Standard Cat6 | Cat6a |
|---|---|---|
| 10 Gbps Distance | Up to 55 meters | Up to 100 meters |
| PoE Heat Handling | Adequate for basic devices | Superior for dense bundles |
| Best Use Case | Ordinary room drops | Ceiling access points and backbones |
You must choose central ceiling spots away from HVAC ducts for your wireless access points. We always remind clients that metal ductwork reflects and kills Wi-Fi signals. A proper ceiling placement gives the antennas a clear line of sight to your smart home devices.
2. Neutral-wire requirement for modern smart switches
Most modern smart switches require a neutral wire to maintain constant power, while smart thermostats demand a C-wire. We handle these essential wiring upgrades alongside the device installation to save you the cost of a second visit. Older Toronto homes rarely have these required connections built into the switch boxes.
Our electricians often encounter switch boxes containing only line and load wires. You have a few options to solve this common problem during a renovation. We can easily pull a new neutral wire from the panel while the walls are still open.
If running new wire proves too difficult, you can install no-neutral alternatives like the Lutron Caséta Diva smart dimmer. The Lutron Caséta system operates on a different wireless frequency and only requires the existing wiring. We highly recommend this route for retrofits in historic homes.
The Ecobee and Nest smart thermostats present a different challenge. We remind clients that you need a dedicated C-wire, or common wire, to provide continuous 24-volt power to the thermostat display.
- Pull a new 18/5 thermostat wire: The best permanent solution during drywall work.
- Use a C-wire adapter (PEK): A reliable workaround if pulling wire is impossible.
- Avoid “power stealing” models: These units often cause furnace relays to buzz or fail prematurely.
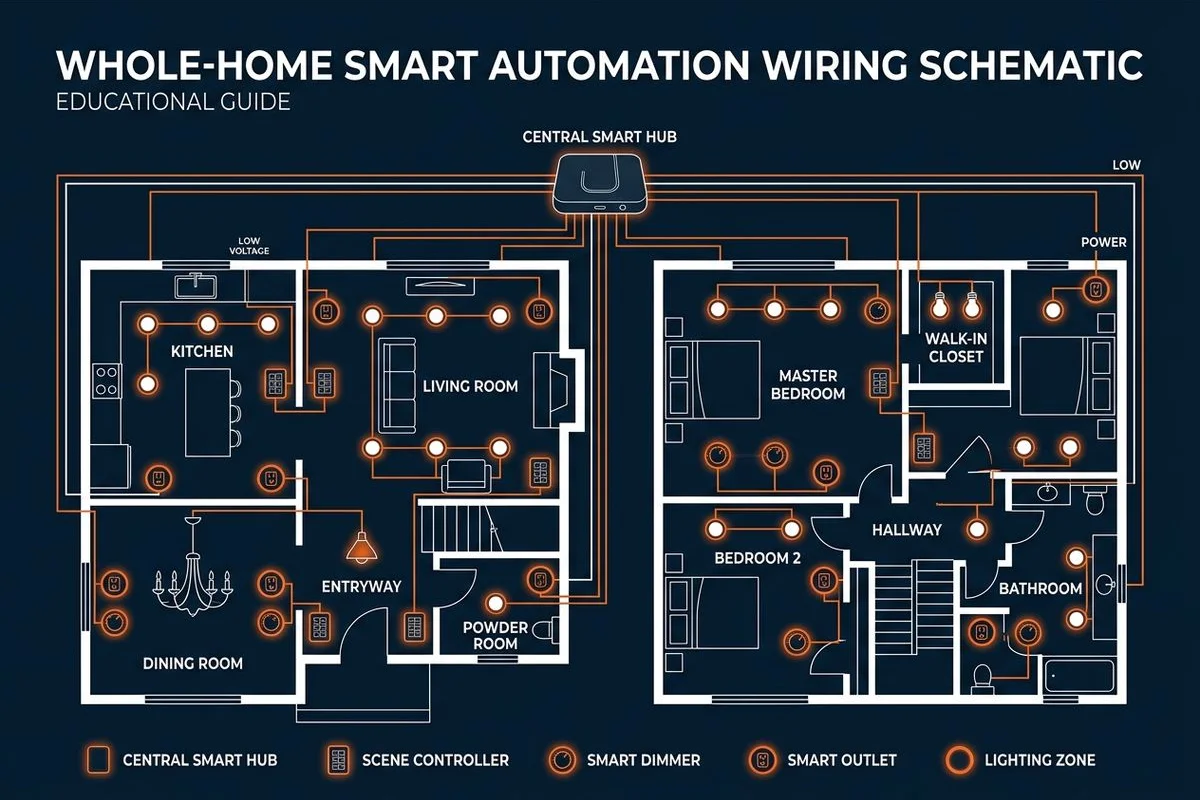
3. Scene controllers and keypad locations
Scene controllers allow you to trigger multiple lighting and temperature adjustments with a single button press. We recommend placing these keypads near primary entryways, at the top of stairs, and beside the master bed. Planning these locations early ensures you avoid cutting into finished drywall later.
Our clients love the convenience of hitting a single “Goodnight” button to secure the entire house. You should install your main scene controllers at the standard 48-inch height to match your existing light switches. We frequently install the Brilliant smart home controllers to replace standard multi-gang switch boxes.
These specific units offer a touchscreen interface that integrates beautifully with Sonos speakers and Ring doorbells. Another excellent option is the wireless Lutron Pico remote. We can mount these remotes directly to almost any wall surface using a simple bracket.
This smart home rough in strategy gives you a permanent, professional-looking wall switch without routing any new high-voltage wires.
- Foyer entrance: For an “Away” scene that shuts off all interior lights.
- Kitchen island: To control overhead, pendant, and under-cabinet lighting zones.
- Bedside walls: For a dedicated “Read” or “Sleep” setting.
- Garage entry: To illuminate the pathway into the kitchen automatically.
4. Integration with HVAC, lighting, and EV charging
Integrating heavy electrical loads like EV chargers requires careful capacity planning, especially in older CA properties. We supply and install major brands like Tesla Wall Connectors and ChargePoint Flex units, handling the complete ESA permit process. A typical Level 2 EV charger installation runs between $800 and $1,500.
Our installations frequently address the limited power capacity found in multi-unit buildings. Condominiums in the Greater Toronto Area often restrict residents from adding a 40-amp or 50-amp load to their electrical panel. We solve this bottleneck by installing Electric Vehicle Energy Management Systems (EVEMS).
The DCC-9 load management unit is our preferred solution for these strict condo environments. This device actively monitors your real-time power consumption. We program the DCC-9 to temporarily pause your EV charger if your stove and dryer are running simultaneously.
The system protects the building’s main transformer from overloading and satisfies the condo board’s engineering requirements.
| Device Type | Primary Function | Best Use Case |
|---|---|---|
| DCC-9 EVEMS | Pauses EV charger at 80% panel capacity | Toronto condos with 60A or 100A panels |
| DCC-11 EVEMS | Connects directly to main power supply | Multi-unit buildings with shared infrastructure |
| Smart Splitters | Shares power between two 240V appliances | Detached homes sharing a dryer circuit |
5. Future-proofing checklist before drywall
Future-proofing your renovation network wiring means installing empty conduits and extra data paths before the walls close. We utilize flexible ENT conduit, often called “smurf tube,” to create permanent accessible routes from the basement or attic to your main television locations. This simple step guarantees you can pull new HDMI or fibre optic cables a decade from now without damaging your walls.
Our teams always emphasize running low-voltage wiring to the exterior corners of the house. You will eventually want PoE security cameras, and retrofitting those wires through finished soffits is extremely labour-intensive. We run outdoor-rated Cat6 cables to these camera locations during the framing stage.
Audio pre-wiring is another critical step that homeowners frequently forget. We strongly advise pulling 14/2 speaker wire to ceiling locations in your kitchen, living room, and patio. You can leave the wire hidden behind the drywall if you decide to wait on buying the actual speakers.
- Install 1-inch ENT conduit: Run this tubing behind every major wall-mounted television location.
- Pre-wire exterior soffits: Pull Cat6 cables to all four corners of the house for future cameras.
- Run neutral wires: Ensure every switch box has a neutral bundle ready for smart dimmers.
- Pull ceiling speaker wire: Route 14/2 gauge wire to central gathering areas.
- Add extra deep device boxes: Use deeper electrical boxes to accommodate bulky smart switches.
Ready for a Quote?
If you are ready to scope this smart home wiring renovation Toronto project, we are happy to talk. We do free estimates on residential projects across the GTA.
This service includes flat-rate quotes, ESA permits in our LEC name, and a Certificate of Acceptance always included.
Visit smart home and home automation for the full scope of what we do, or contact us directly.
For more context on related decisions, read our guide on nest vs Ecobee: Smart Thermostat Installation Considerations.
Frequently Asked Questions
Do I need to plan this before drywall?
+
Strongly yes. Retrofit later costs 3–5x what rough-in does during open-wall stage. For Toronto homes specifically, we handle this through our LEC with the ESA permit included in the flat-rate quote. Free estimates on residential projects.
Can I run Cat6 in the same conduit as electrical?
+
No. Separation per code; we run parallel boxes and conduit. For Toronto homes specifically, we handle this through our LEC with the ESA permit included in the flat-rate quote. Free estimates on residential projects.
What if I'm not sure which platform yet?
+
Choose neutral-wired smart switches that work with Lutron, Caseta, or HomeKit. The most platform-agnostic move. For Toronto homes specifically, we handle this through our LEC with the ESA permit included in the flat-rate quote. Free estimates on residential projects.