Have you ever noticed how the right lighting completely changes the feel of a room?
Getting your lighting installation just right is one of the fastest ways to update your home or business. We see the impact of this simple upgrade every single day.
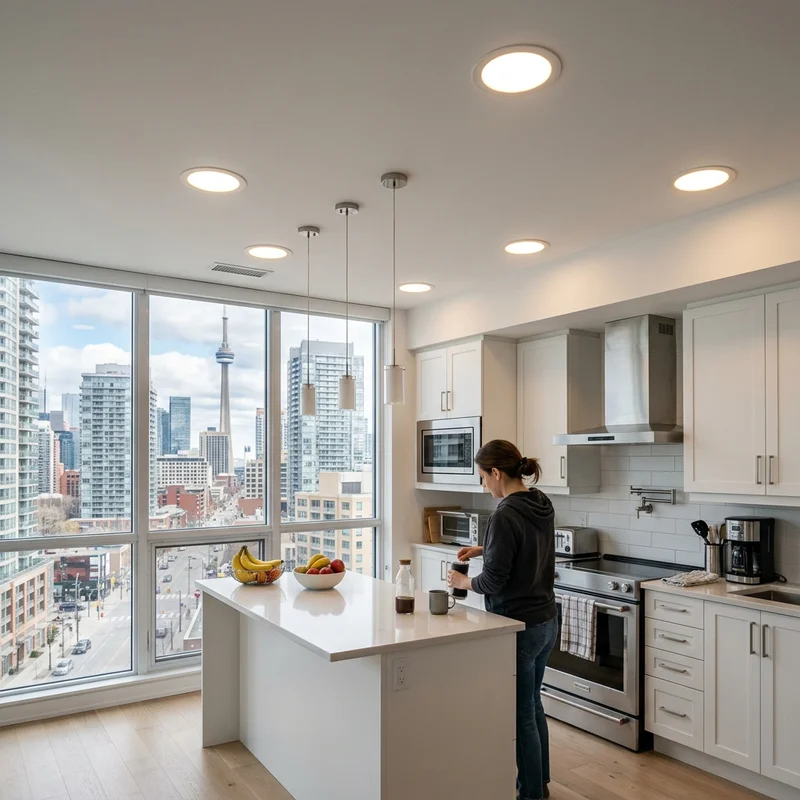
A bright, well-lit space makes cooking easier and entertaining much more fun. Our team is going to walk you through the exact steps you need to make your project a total success. Grab a cup of coffee, and let’s go over the details together.
LED Pot Lights: The Most Common Lighting Installation
Pot lights make up about 70% of our lighting work.
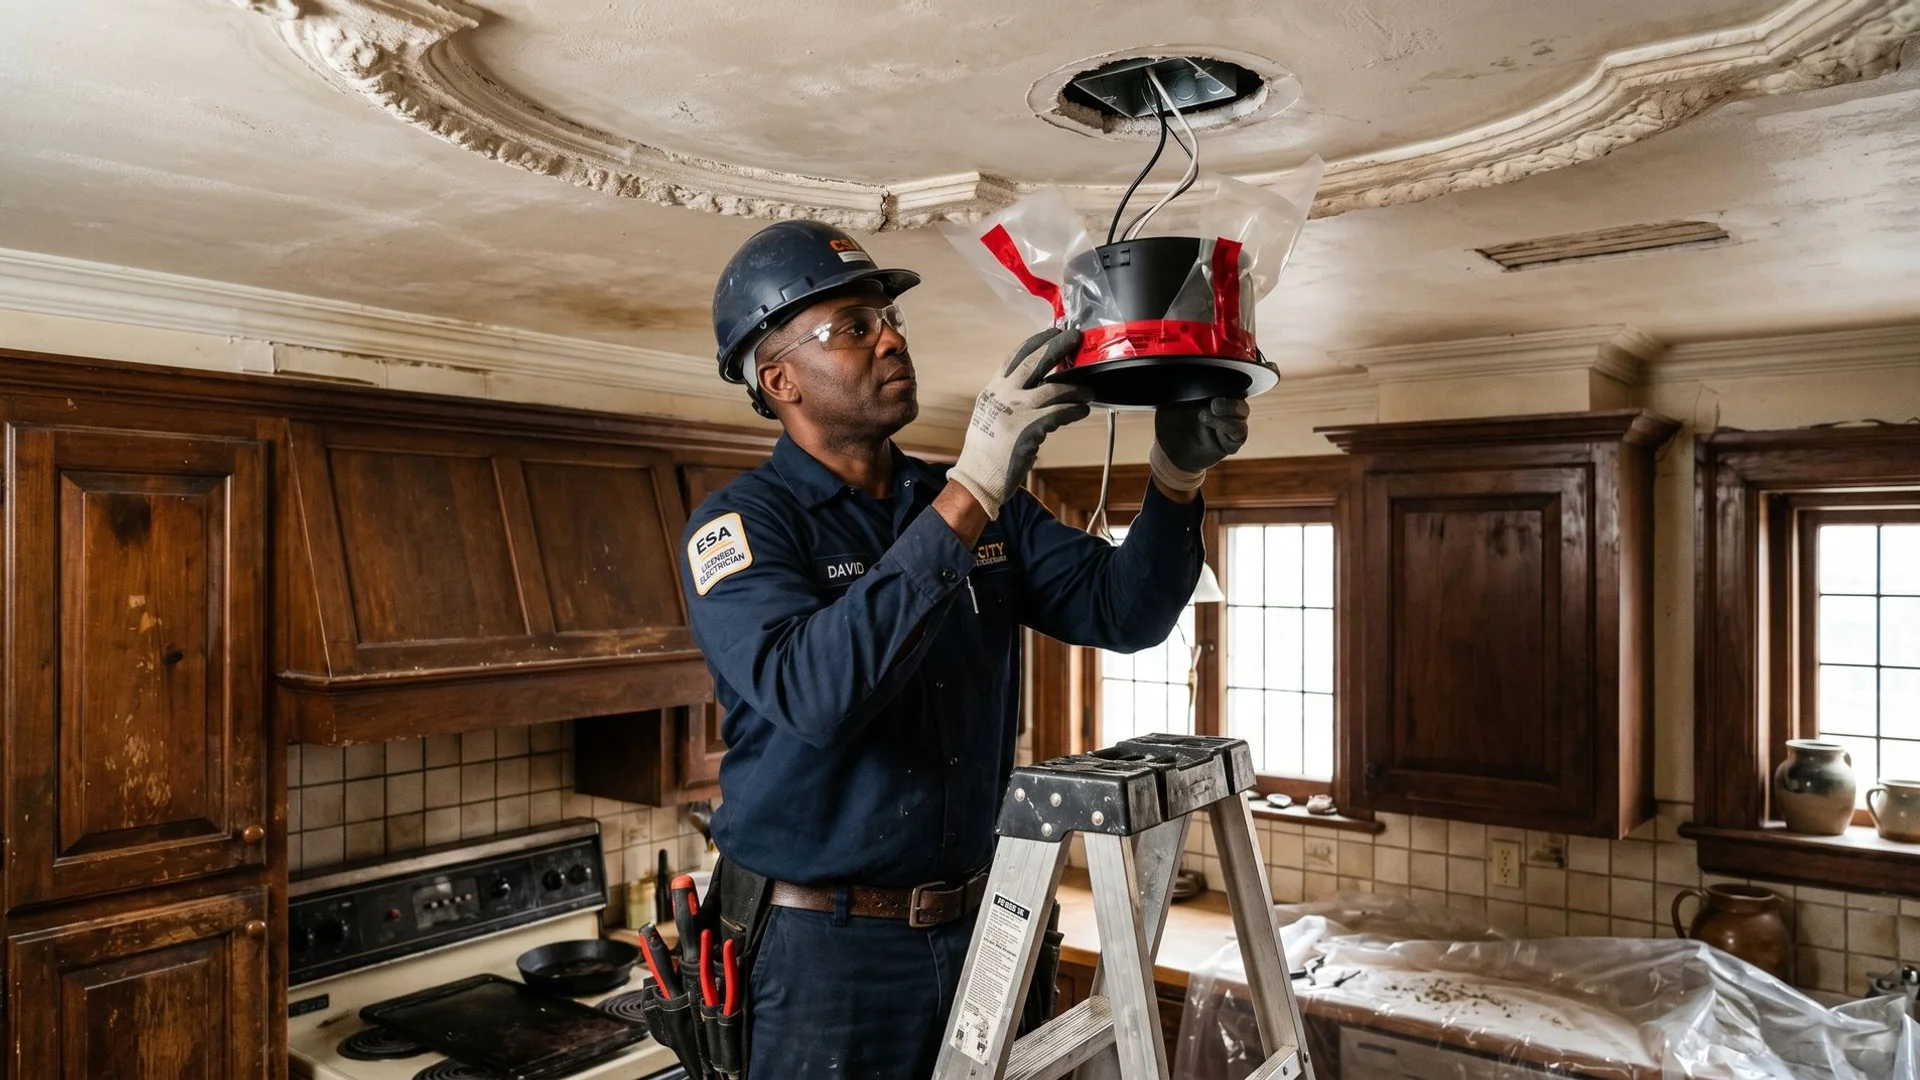
A typical kitchen or living room retrofit involves 6 to 10 pot lights. We often use these to replace a single ceiling fixture or to supplement existing surface-mount lighting. Modern slim-profile LED retrofit cans, like the incredibly popular Lotus LED Lights, are fantastic because they are only about half an inch thick.
Our electricians love using 4-inch models for kitchens and living rooms, while 3-inch models are perfect for hallways and bathrooms. This ultra-thin design lets us install them easily in the shallow joist cavities common in older Toronto construction.
| Pot Light Size | Best Room Application | Key Benefit |
|---|---|---|
| 4-Inch Slim LED | Kitchens, Living Rooms | Broad, bright coverage for large areas |
| 3-Inch Slim LED | Hallways, Bathrooms | Focused light, fits tight ceiling joists |
We follow a very specific workflow for a standard 6-light retrofit. The work breakdown looks like this:
- Layout marked on the ceiling for your sign-off.
- Holes cut with a dust-catching hole saw for a perfectly clean edge.
- Wiring run between the lights and tied to a switched circuit.
- Cans installed and snapped securely into place.
- Dimmer installed at the switch, followed by a final test.
Plaster ceilings add roughly $25 to $50 per light for the patching premium.
Concrete ceilings in downtown condos need more substantial planning. Our typical approach for concrete involves surface-mount or pendant fixtures because cutting recessed cans into a structural slab is simply not an option.
Decorative Fixtures
You might be surprised by the variety of fixtures hanging in homes today.
We install everything from $50 IKEA pendants to multi-thousand-dollar crystal chandeliers. The work itself remains mostly the same regardless of the price tag. Canadian Electrical Code Rule 30-302 limits standard ceiling boxes to holding a maximum of 50 pounds.
Our first step is always to confirm the box rating safely supports your new fixture weight. Heavy chandeliers require a fan-rated or heavy-duty brace box, like an Arlington slider bracket, which safely holds up to 70 pounds.
Pro Tip: Always check the exact weight of your chandelier before buying. Anything over 50 pounds legally requires a specialized heavy-duty brace box in Canada to pass inspection and keep your family safe.
We run the new wiring through the canopy carefully, and then mount and balance the fixture.
Heritage homes in The Annex, High Park, and Forest Hill often want chandeliers installed in original plaster ceiling medallions. We work with hand tools only near these fragile, historic mouldings. Preserving that delicate medallion during the installation is a major priority for us.
Outdoor and Landscape Lighting
Great exterior lighting makes your property safer and much more inviting.
We handle a wide variety of outdoor lighting projects across the city. Choosing the right equipment is vital for surviving our local weather. We strongly recommend professional-grade Kichler or FX Luminaire transformers because they are fully sealed and IP65-rated to handle severe winter freeze-thaw cycles.
Upgrading to a 12-volt LED system also uses 80% less power than outdated halogen bulbs. Most requests fall into a few specific categories.
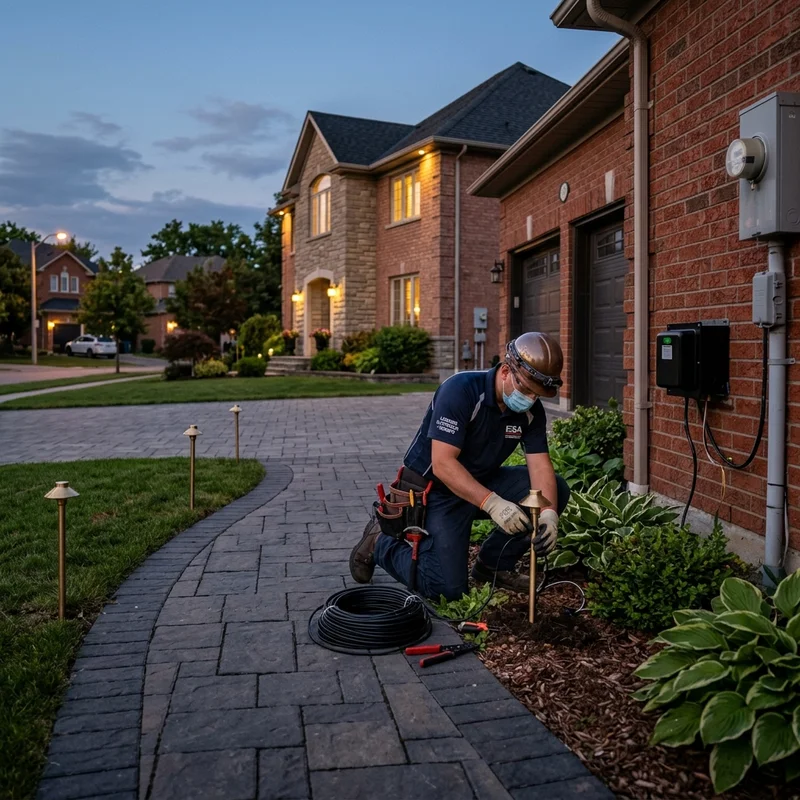
Path Lighting Essentials
Low-voltage 12V lights are perfect for lining walkways and driveways.
We typically power these using a reliable transformer located in the garage or beside the main electrical panel. A typical project includes 8 to 15 lights, one or two transformers, and simple photocell or timer integration for $1,500 to $3,500.
Accent and Security Fixtures
Up-lights on architectural features, trees, and fences create a beautiful nighttime look. Our higher-end installs use addressable LED strips or smart-controlled fixtures for custom colors.
Motion-sensor LED flood lights at building corners provide excellent security. We find this is an easy setup when there is existing exterior wiring, though new wiring runs will add to the final cost.
Smart Hub Integration
Connecting your yard to a smart system makes scheduling completely effortless.
We frequently integrate systems like Lutron Caseta, Hubspace, and Philips Hue. Your outdoor lights easily pair with the same hub as your interior smart lights. You can see our smart home automation guide for more details on these integrations.
Vapour Barriers and Insulation in Attics
Moisture control is a massive priority when working near a roof line.
We take attic insulation rules very seriously for ceiling lights below an unheated space. This layout is extremely common in Toronto post-war housing. Pot lights must be IC-rated to safely touch fiberglass or blown-in cellulose.
Our crews ensure the vapour barrier is perfectly sealed at the can. Skipping this crucial step creates a thermal bridge that frosts up in January, drips onto the ceiling in spring, and eventually rots the drywall.
The Electrical Safety Authority enforces strict rules for these zones. Key requirements include:
- Mandatory IC-rated fixtures under Rule 30-906.
- Installation of polyethylene vapor barrier boxes, often called blue boots.
- Acoustical sealant applied around all wire penetrations.
- Full compliance with CAN/CGSB-51.34-M permeance standards.
Every install we do uses IC-rated cans and a proper vapour-barrier seal.
Code inspectors require this protection for good reason. DIY installs unfortunately miss this vital step all the time, leading to expensive repairs down the road.
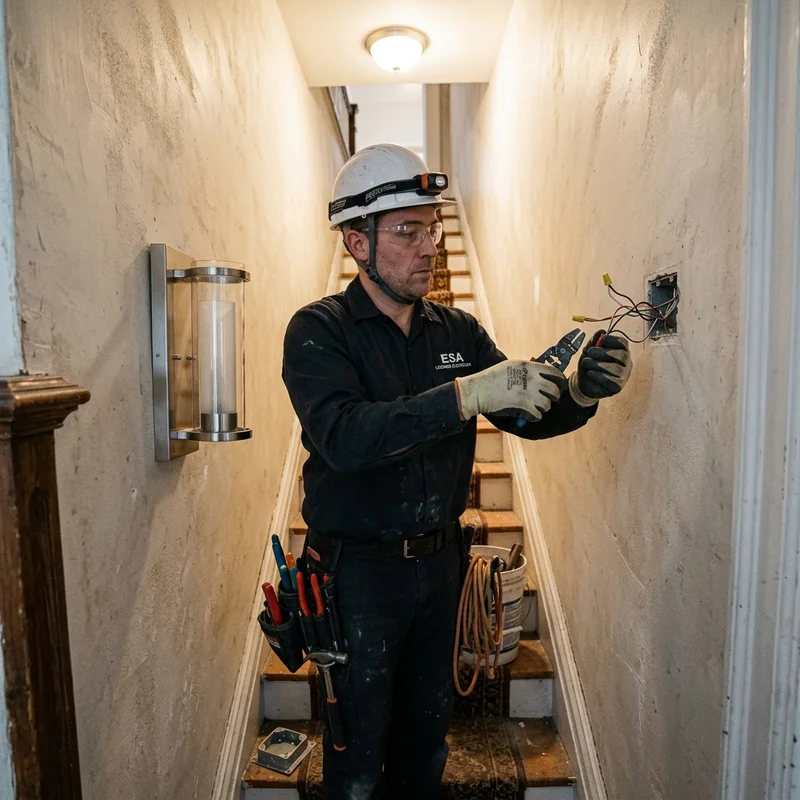
Smart Dimmers: Neutral Wire Issues
Upgrading your switches is a brilliant way to modernize a room.
We run into wiring challenges frequently with older electrical systems. Smart dimmers from popular brands like Lutron Caseta and Leviton Decora Smart typically need a neutral conductor at the switch box to function. About half of pre-1990 Toronto homes simply do not have one.
Our electricians often find that the original wiring sent only the switched leg down through the wall.
| Dimmer Type | Neutral Required? | Best Application |
|---|---|---|
| Lutron Caseta PD-6WCL | No | Older homes with missing neutrals |
| Leviton Decora Smart Wi-Fi | Yes | Newer builds with full wiring |
Running a new neutral wire from the fixture through the existing wall is straightforward in basement and ground-floor walls.
We find the process gets significantly more involved and time-consuming on upper floors. If your budget is tight, using a no-neutral-required model like the Lutron Caseta PD-5WS-DV Pro switch is an excellent, code-compliant workaround.
When you are committing to smart lighting, doing the neutral-wire fix during the main installation is significantly cheaper than calling someone back later. We always flag this detail during the initial quoting process so you know your options upfront.
Final Thoughts on Your Project
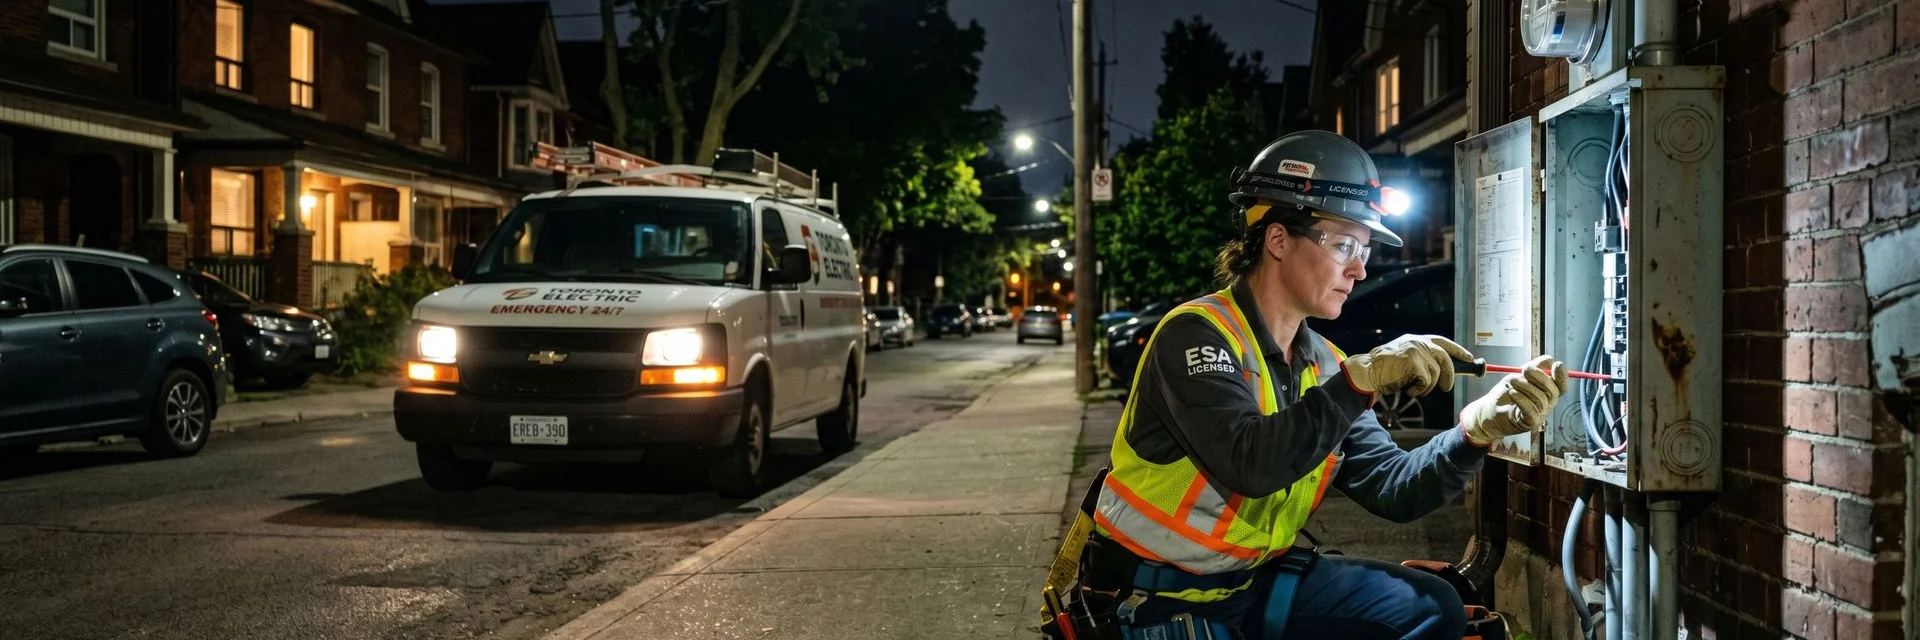
Getting your lighting installation handled professionally saves you from flickering bulbs, code violations, and drywall damage.
We want you to enjoy a bright, safe, and beautiful space without any of the background stress. Quality fixtures and proper wiring are an investment that pays off every single time you flip the switch.
Contact us today to schedule a walkthrough, and let us bring your vision to life.