LED Pot Lights in Plaster Ceilings (Toronto)
Plaster cutting technique, joist locating, vapour barrier considerations, IC-rated fixture selection, and patching approach.
By Michael Chen, Licensed Master Electrician ·
Older-Toronto-home owner wanting pot lights. Wants to know if it’s possible without ruining the ceiling.
LED Pot Lights in Plaster Ceilings (Toronto)
Capture older-Toronto-home traffic for tricky ceiling installs.
What This Pot Lights Plaster Ceiling Toronto Guide Covers
We see the same hesitation from property owners across older neighbourhoods every week. Upgrading the lighting in a vintage property feels like a massive risk. It is a completely valid concern.
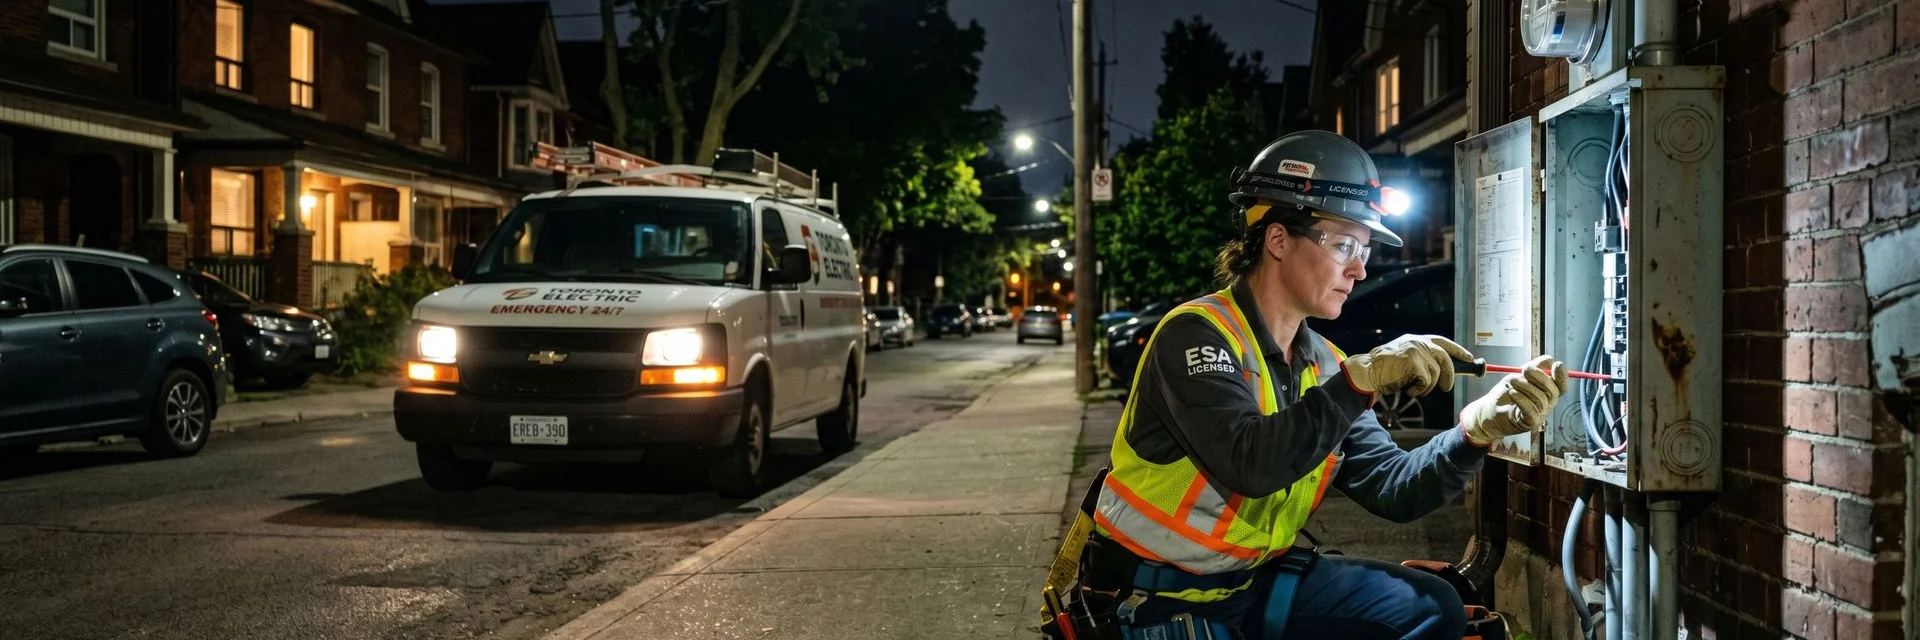
Our team operates as a Toronto Electrical Contractor delivering safe, code-compliant results. The reality is that for flawless pot lights, plaster ceiling toronto projects require a specialized approach. Many contractors ruin these beautiful surfaces by using aggressive cutting tools.
We will outline exactly how this upgrade works and what you should expect. The following guide covers the best cutting methods, code requirements, and the correct patching technique.
Proper diagnostic gear prevents unnecessary damage entirely.
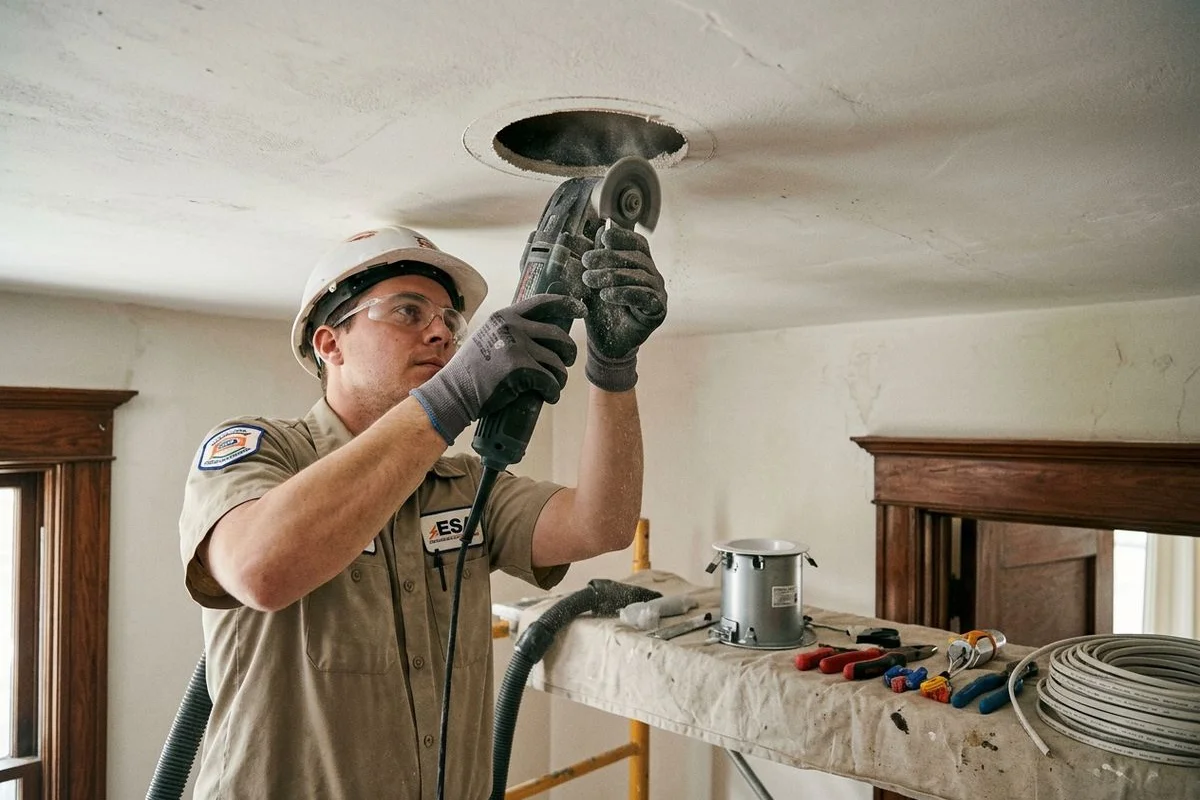
1. Plaster cutting technique (oscillating tool vs hole saw)
We always advise against using a standard hole saw on an older plaster ceiling. The heavy vibration from a spinning saw quickly breaks the plaster keys away from the wooden lath. This damage causes massive cracks to spiderweb across the room.
Our team uses a high-speed oscillating multi-tool, like a DeWalt, fitted with a carbide grit blade instead. The specialized blade grinds cleanly through the hard material without shaking the entire ceiling structure. Licensed professionals handle this precise plaster ceiling cutting across the GTA, including Toronto, North York, Scarborough, Etobicoke, Mississauga, Vaughan, and Markham.
We ensure the steps follow a consistent pattern to protect your property. Specifics depend on the home’s vintage, wall finish, and existing service capacity.
| Tool Type | Vibration Level | Risk to Plaster |
|---|---|---|
| Standard Hole Saw | High | Cracking and broken lath keys |
| Oscillating Tool (Carbide) | Low | Clean, precise cuts |
2. Joist locating and avoiding
Our technicians know that a standard electronic stud finder is virtually useless on these walls. The dense one-inch thick material and irregular wooden lath confuse the density sensors completely. That is why modern tools fail to give an accurate reading.
We rely on a strong magnetic stud finder, like a CH Hanson, to do the job right. These powerful magnets locate the tiny hidden nails that attach the wooden lath to the ceiling joists above. Finding three vertically aligned nails confirms the exact centre of the joist.
We map out the ceiling grid carefully before making a single cut. Many homes built in this region feature irregular joist spacing. You will often find joists spaced anywhere from 16 to 24 inches apart.
Our diagnostic gear takes the guesswork out of this stage entirely. A small test nail acts as a reliable probe to verify the layout if the magnets give mixed signals.
- Avoid density scanners: Standard finders cannot read through thick lath and plaster.
- Use strong magnets: Locate the nails holding the lath strips.
- Mark the nails: Use painter’s tape to track the joist direction.
- Confirm with a probe: Gently test the spot with a thin finishing nail.
3. Vapour barrier considerations on attic-side
We take attic ventilation and sealing very seriously in this climate. The Ontario Building Code strictly requires a continuous air and vapour barrier to prevent moisture problems. Warm indoor air leaking into a freezing Canadian attic quickly creates severe condensation and mold issues.
Our electrical contractors ensure every penetration meets these strict safety standards. Installing traditional fixtures into an insulated ceiling space requires special hardware. You must install a rigid polyethylene surround, often called a vapour boot, over the assembly.
We seal this plastic boot directly to the surrounding vapour barrier using acoustical caulking or approved tape. This extra step stops drafts completely. The airtight seal protects your roof decking from winter rot.
Failure to properly seal an attic-facing pot light violates the Ontario Building Code and risks significant moisture damage during cold winter months.
4. IC-rated fixture selection
Our product recommendations focus entirely on safety and a clean finish. The Electrical Safety Authority mandates that any light touching insulation must carry an IC rating, which stands for Insulation Contact. A standard non-IC fixture buried in attic insulation generates enough heat to start a house fire.
We exclusively install cULus or CSA certified ic rated pot light units for residential projects. The best solution for a difficult plaster ceiling is a super slim LED panel. Brands like Lotus LED Lights manufacture fixtures that are only half an inch thick.
We love these models because they fit perfectly in the shallow space right beneath a joist. The external driver box sits remotely, eliminating the need for a bulky traditional metal housing. This slim profile solves the most common clearance issues instantly.
| Fixture Rating | Insulation Contact | Safety Profile |
|---|---|---|
| IC-Rated | Approved for direct contact | Runs cool, fire-safe |
| Non-IC Rated | Must keep 3-inch clearance | High fire risk if covered |
5. Patching approach for finish-ready ceiling
We manage the ceiling restoration so the final result looks flawless. Old plaster does not bond well with standard drywall mud, especially inside deep gaps. The moisture in regular joint compound causes it to shrink and crack as it dries against the dry lath.
Our technicians apply a setting-type compound, such as Durabond 90, to create a rock-solid base coat. This specialized chemical-setting mud dries incredibly hard and fuses the old plaster edges together. Fiberglass mesh tape covers any compromised seams to provide structural reinforcement.
We finish the surface to a smooth, paint-ready texture using a lightweight topping compound. A proper patch job makes the new installations look like they have always been there. Your ceiling maintains its historical integrity and strength.
- Setting-type compound: Provides a hard, shrink-free base coat.
- Fiberglass mesh tape: Bridges the gap and prevents hairline cracks.
- Lightweight finishing mud: Creates a smooth, sandable top layer.
- Dust control: Proper sealing of the room keeps fine particles contained.
Ready for a Quote?
We are always happy to discuss your specific project needs. Scoping out an older ceiling requires experience. You deserve a clear understanding of the costs upfront.
Our team provides free estimates on residential upgrades across the GTA. Flat-rate quotes keep your budget completely predictable. A Certificate of Acceptance is always included upon completion.
We file all ESA permits directly under our Licensed Electrical Contractor name. Taking the next step is easy when you have the right information. You can visit our lighting installation page for the full scope of what we do.
Our staff is ready to help if you want to contact us directly about a pot lights plaster ceiling toronto project.
The process is straightforward from start to finish.
For more context on related decisions, read our guide on outdoor Landscape and Security Lighting Layout.
Frequently Asked Questions
Can plaster ceilings really handle pot lights?
+
Yes with proper technique. Oscillating-tool cuts and IC-rated cans designed for retrofit. For Toronto homes specifically, we handle this through our LEC with the ESA permit included in the flat-rate quote. Free estimates on residential projects.
Will the ceiling crack?
+
Minor cracking risk near the cut; we patch and feather to minimize visible damage. For Toronto homes specifically, we handle this through our LEC with the ESA permit included in the flat-rate quote. Free estimates on residential projects.
What about insulation on top?
+
IC-rated cans can contact insulation safely; non-IC cans cannot. For Toronto homes specifically, we handle this through our LEC with the ESA permit included in the flat-rate quote. Free estimates on residential projects.